Today Robin has invited to share a stashbusting tutorial with all of you and I couldn't be more excited! Spring is a great time for stashbusting/purging/cleaning!
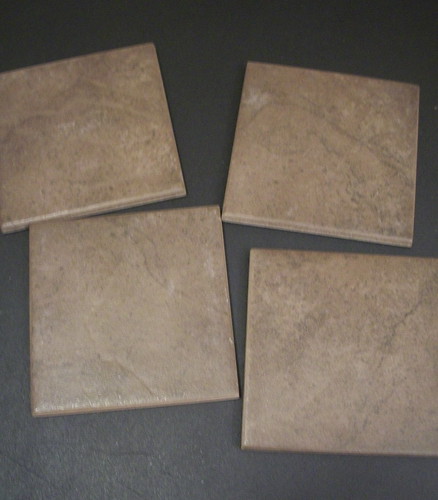
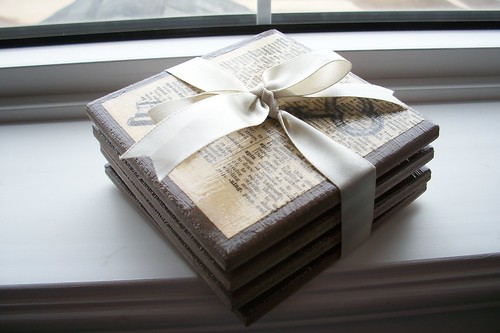
Today I'm busting some ceramic tiles from my stash. I bought them at ReStore for $0.20 a piece with the intention of making coasters as gifts at Christmas time. Then I wanted to get them done for my friend's birthday in February. Now it's April.... I started with these tiles. I love going to ReStore because they have so much neat stuff at good prices. It's nice to know that all these construction materials are being saved from the garbage!
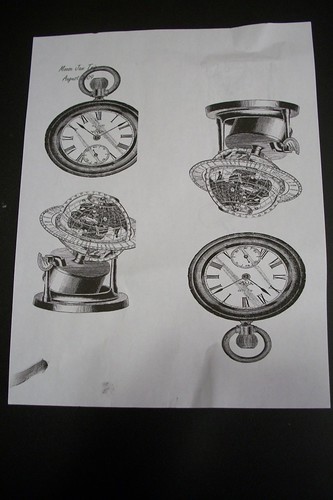
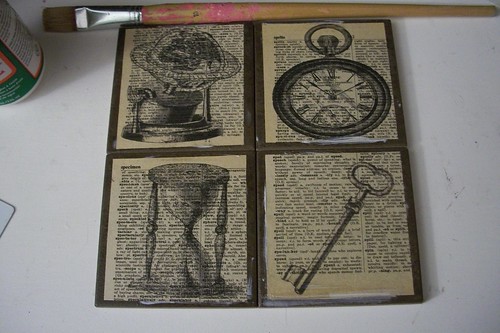
Next I found some images I liked over at the Graphics Fairy. I've talked about Karen's site many times before - if you haven't checked it out, why not?!
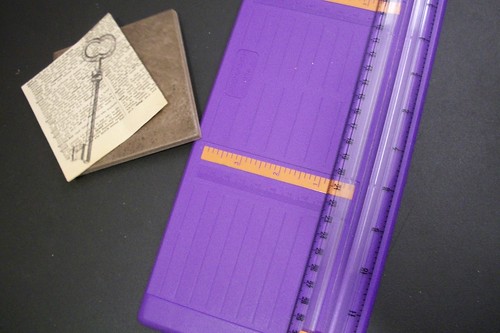
I picked 4 images I liked and resized them in a word document and placed them how I liked. I did a test run on plain paper to make sure they were the right size and in the right position.
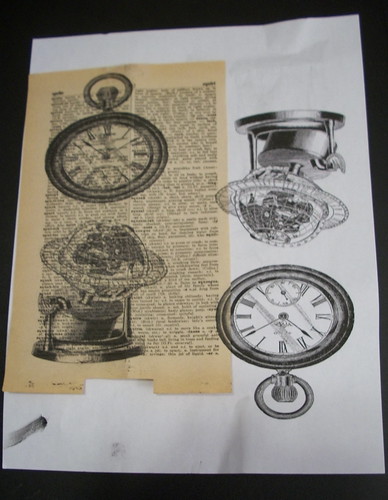
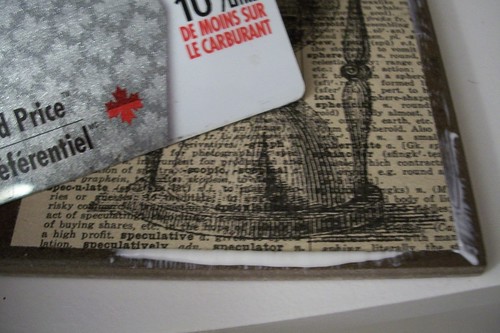
Once I was happy with how they printed I did a good copy onto some old book pages - also from my stash. I had received these dictionary pages from another crafty mind years ago when she was trying to de-stash!
After I was done printing my images I trimmed them down to size for my coasters.
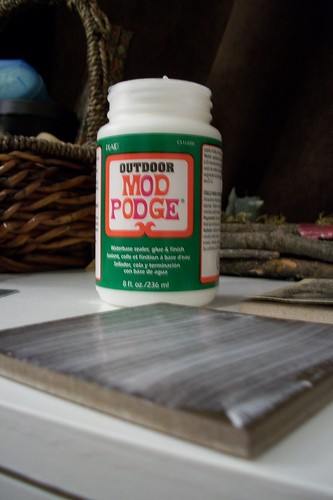
Next step was mod podge! I bought the outdoor stuff just to make sure that it held up against the moisture from glasses.
I used my trusted mod podge gift card to make sure there weren't any air bubbles under the paper.
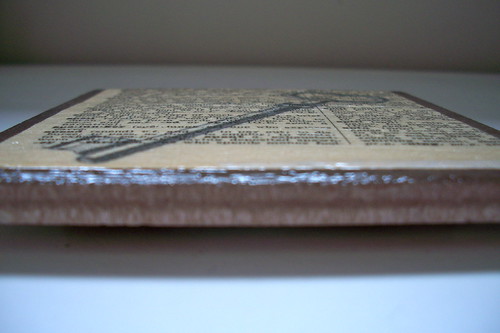
Once that dried, I applied one coat of 'podge to cover the paper too. I usually use a regular paint brush to apply mod podge because I don't like the little foam brushes. I'm apparently too violent and break the little plastic thing on the inside all the time. I realize that using bristle brushes leaves brush strokes, but I've come to peace with it.
After they were dry I was ready to call it done. The outdoor mod podge however left them feeling tacky, and when you set a glass on them, it stuck. I found a clear sealer spray and gave them two coats of this, which fixed the problem!
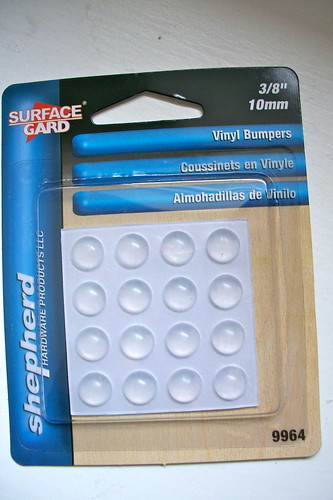
Here's where I have a confession to make. I had to *gasp* SHOP to finish this project. I know, it goes against the rules of stashbusting, but I ONLY bought what I needed, and I figured that the buying to busting ratio was more than reasonable, so I figured I could forgive myself.
I picked up a bunch of these little guys:
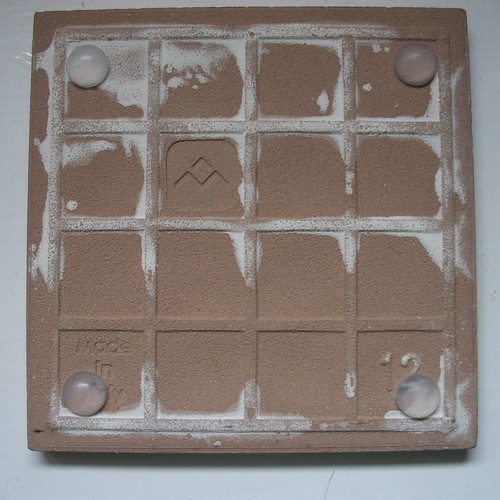
I know I could have busted even more stash by cutting up some felt or something similar to put on the bottom, but I really wanted them to have that professional, polished look.
I applied one to each corner like so
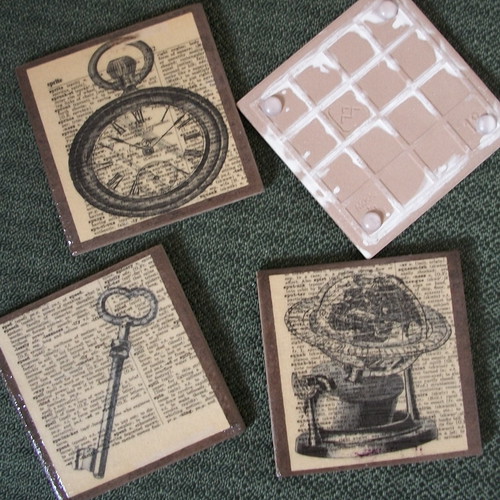
Voila!
Reach into your stash and grab a ribbon to tie around them and they're ready to give to your bestie as a belated Chris-birth-gift! Total cost = $3.01 (not including printer ink/mod podge/sealer) This gift recipient reads my blog. Thank goodness she loves a great deal as much as I do! :P
One set down, a box of tiles to go!
--
~JILL
envirocraftiness.blogspot.com
envirocraftiness@gmail.com


Comments