I love the melted crayon art all over the internet. My daughter is having a rainbow birthday party this weekend and what would be better than a crayon art canvas with some melted crayons.
I mean how hard could it be?
Actually, it melted crayon canvas art is pretty much the easiest art project ever.
You will need:
- 64 pack of Crayola crayons (you could do a few 24 packs or use another brand, but I like Crayola's melt-ability)
- Hot glue gun (with glue of course)
- Canvas (I used a 16 X 16 inch white canvas)
- Blow Dryer
The first step is to glue your crayons with a hot glue gun in the order you like to the top of the canvas. I really like the look of the labels facing the same way. I also tried as much as possible to go with the red, orange, yellow, green, blue, and purple theme (you know a rainbow for the rainbow party).
I started taking some pictures because I was in love with the look of the lined up crayons. I have no idea what I am going to use 100 pictures of a row of crayons for, but I am sure some will end up in my header at some point.
Another view of the crayons.
Last one I promise, aren't they pretty?
Here is the cautionary tale part of the tutorial. Do not, under any circumstances, leave your 4 year-old daughter alone with the photo board and hot glue gunned crayons. She will break a crayon or two off, and color the white board with whatever color they grab.
I set up a nice little "catch area" for the drips. If I cared about the tacky fake-wood walls I would have covered them up as well, but I really don't. The crayons do splatter at times when you are melting them.
Now it's time to get to work. Set your blow-dryer on the low setting, but on high heat. I started at one side and spent about three minutes until the red crayons started to drip down the canvas. I slowly repeated the process.
I let my daughter get in on the crayon melting action.
When letting your kidlets melt crayons be careful. No only is this project a little risky because of the heat, but the blow-dryer really needs to be held in a straight up and down fashion for the least amount of splatter. Kids tend to hold it at an angle and the melting process gets a little messy.
Loving the finished project? I did, but then decided to go back and melt the crayons a little more. If you have pools of melted crayon whose drip you are not quite happy with, just spend a little extra time with your blow dryer in that area and it will melt away.
Much better! I love the wider lines and the subtle white space.
Here is a close up.
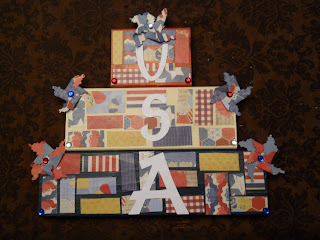
Rainbow crayon art hanging out in the photo studio.
Upside down it makes it look like the wax is melting into the crayons.
Crayons on canvas hanging up in our basement. I LOVE rainbow crayon art, I LOVE melting crayons, and I think you need to go out, buy a canvas, and make one!
I just need to move this bad boy out of the basement and into my daughters room. It will look so much better once it is on my daughters wall. The brown, fake wood paneling has got to go.


Comments
(on a side note - we painted our fake wood paneling in the basement white...it's a reasonable way to lighten up an area and doesn't really look too bad. :)
Melanie
bearrabbitbear.blogspot.com
gail
Could you please share this with my readers? http://www.toysinthedryer.com/2011/11/introducing-fun-stuff-fridays.html
http://www.toysinthedryer.com/2011/11/introducing-fun-stuff-fridays.html
Have a great week!!
~Kara (your newest follower :)
www.petalstopicots.com